
Its a common joke …… mistake is made when sewing. The resulting steps aren’t correcting a mistake; they are a Design Feature.
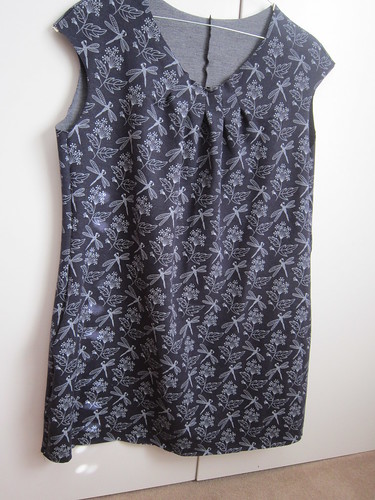
I cut out a version of my Bootstrap Fashions Raglan Tunic. This top has been a mainstay in my wardrobe, and its a great winter layering piece. Bootstrap Fashions are a “custom” company, using pattern making software, in order to take a customer’s measurements, and then produce a pattern that exactly fits that customer’s shape. This was my first purchase. But, when I put in my measurements, I forgot to put in what is called wearing ease. Our clothes aren’t exactly the same size as us. There is always space to allow us to breathe, eat a big meal, sit down; most clothing is about 1-2 inches bigger than us.
But, as its been so long, I completely forgot to add wearing ease when cutting. And so I had a lovely tunic, that was extremely formfitting. Ok for my slim daughter, not so good for me.
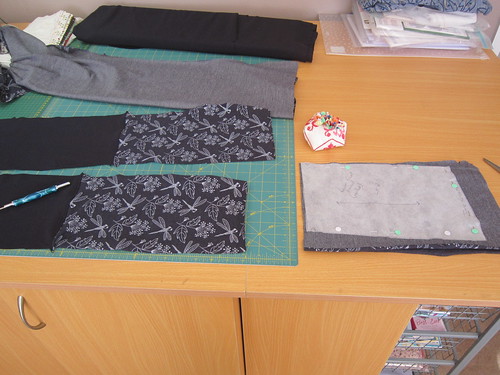
The key to a good design feature however, is that it has to look like it was meant to be that way in the first place. I could cut up the side seam, insert a strip of coordinating fabric, and that would have given me the room. But it would have looked obvious, and ruined the lines of the top. I decided to go the slow road. I used a princess seamed pattern, to get the general shape of the panels. This pattern happened to have pockets, so I decided to use that feature as well, creating a justification for the contrast insert.
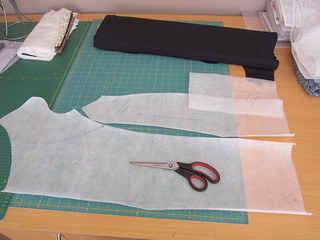
It did involve cutting some width from the existing top (which seems counter productive since I was adding width) but stay with me!
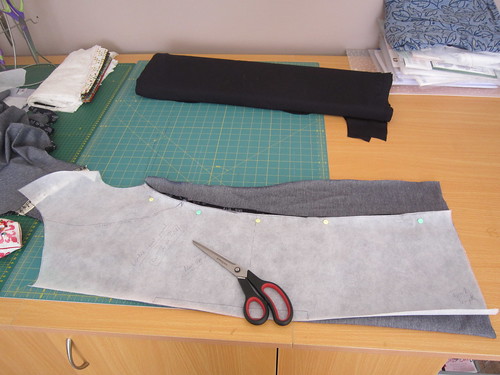
Eventually, I finished with the existing front section, a new contrast side panel, and the lower side panel/pocket, cut from scraps.
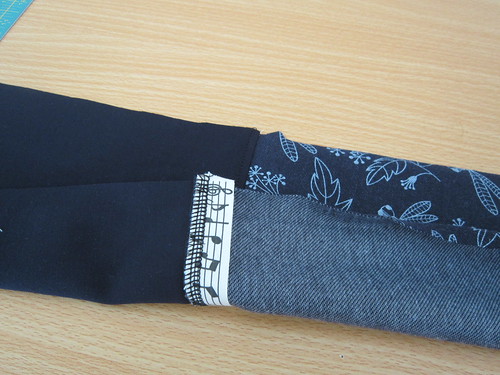
So to start with, I attach the lower panel to the side panel. Can you see the problem?
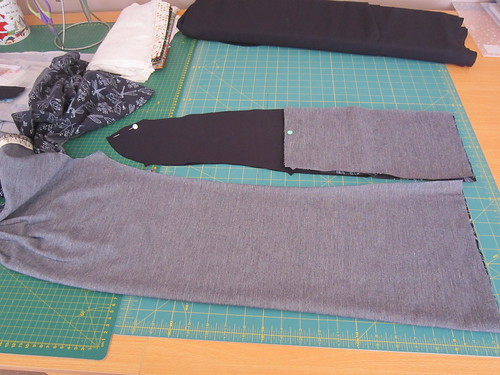
AAARRRRRGGGGGGGGHHHHHHHH!! Bloody directional fabric! Cut again!
Second time lucky, and I added the step of putting some tape along the pocket edge seam, as the first incarnation was a bit stretched ….. yet another design feature.
Lower panels added, and the pockets basted in place.
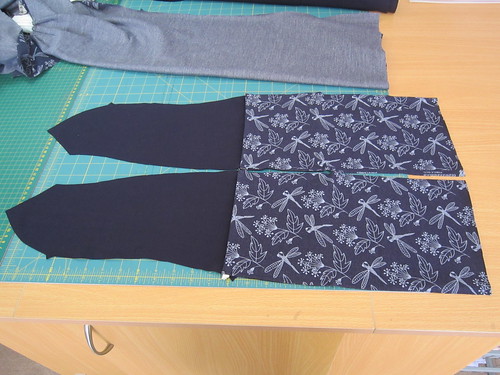
All thats left to do, is stitch the front and side seams again.
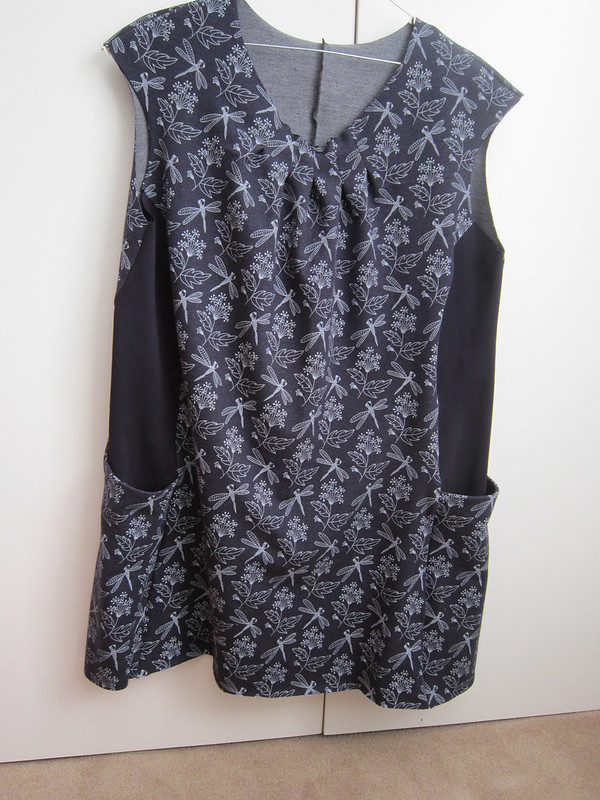
The temptation when making this sort of alteration, is to go overboard, and end up having a top that is miles too big. But this one has worked fine, giving me that little bit of wearing ease, so it doesn’t cling to my lumps and bumps. With the added benefit, that by drafting a whole new pattern for the alteration, I can now have a different version for future tunics.
Just the collar and hems to do, and then I have another top for winter workwear.