
I have been making my own clothing for quite a while now. Â I have had a fair amount of mediocre results, a few resounding successes, and of course some spectacular failures.
Like all learning seamstresses, along the way, I have dabbled in alterations. Â I am big busted and round bellied, requiring patterns to be changed for that. Â Add to that, the fact that many pattern companies, build in masses of ease to their designs, and a learner can get caught making to measurements, only to find the item huge.
Many years ago, I purchased a peasant blouse top pattern. Â I made quite a few, but being 10kg heavier than I am now, I struggled to get the fit to work. Â Just learning to alter I chose the size based on my bust measurement (not the finished bust), and I went for the “slash and spread” method, reasoning I needed more width across the belly and hips.
There’s nothing wrong with this method, but this gave me a top huge across the back, shoulders and underarms, in order to fit my waist/hips. Not a good look. The pattern was shoved into the drawer, in disgust.
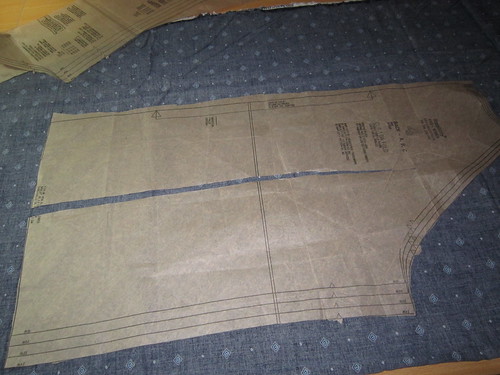
Fast forward to this year. I want another peasant top, but this time, I understand my dimensions better. I taped closed the slash, and then went at the pattern with the scissors, altering as I cut out. Instead of cutting the whole pattern as a 24; I cut the neckline, sleeves and underarms, at a size 20 (this gave me approx 2in of ease across the bust), grading out at the side seams starting just above the bust point.
I will update this topic, when I have made up the top, but I am fairly confident this will give me a better fitting top. Stay tuned.