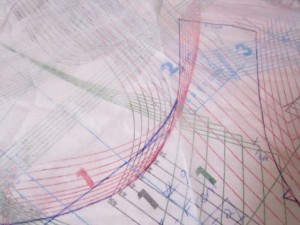
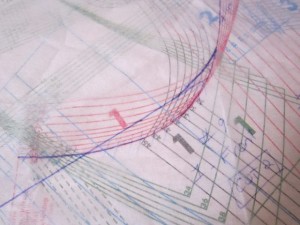
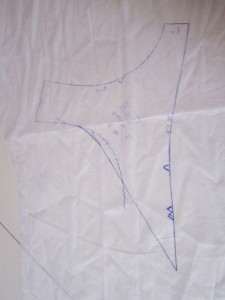
I am a huge fan of Ottobre patterns, and this design, #9 Violet Rose, is a firm favourite.
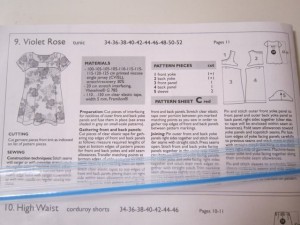
My only quibble has been the wide, boaty round neck. Â I am wide enough as it is, I don’t need emphasis. Â And hence this tute……
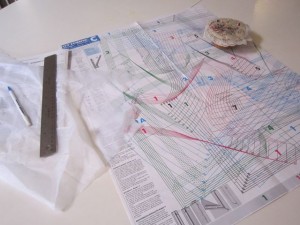
So … First step, get your tools organised. Â You will need your original pattern, something to trace onto (light weight sew in interfacing shown), pins to hold the interfacing to the paper (yes thats a different pin cushion, thats my paper pins. Â Yes I am quite aware how much of a control freak I am, to have special pins just for paper), a pen and a ruler.
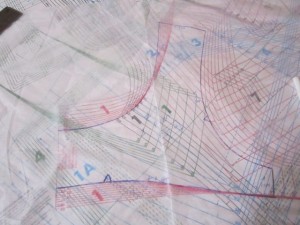
Pin interfacing to the pattern. Â Take your pen and trace the neckline, shoulder, arm scythe, side seam and yoke seam in your preferred size. Â Leave out the centre front seam.
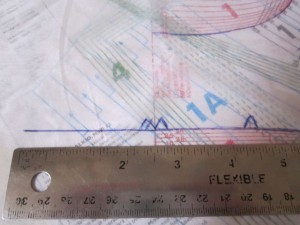
Extend the yoke seam, using your judgement as to how far. Â I look at the edge of the point being at about mid-way between the chest and side seam…… Â In this instant, about 2.5 inches. Â While you are there, be sure to mark the centre front with some sort of mark. Â this will help you centre the V of the neck when joining.
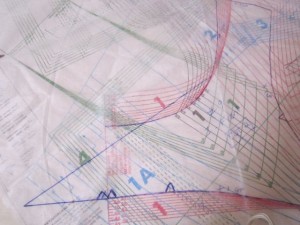
Now, look at your neckline seam, and think about where you would like the altered neckline to start. Â Don’t be tempted to start too high, or you will have the crossover right near your chin. Â Pick your spot, and then draw a line from the yoke point to the neckline.
At the point where the straight edge joins the curve, you will want to smooth out the transition, so that the binding will attach evenly.
Scrub out/cross out the lines you don’t want, and remember to label your traced pattern, so you know what pattern it belongs to, and what size it is.
And there you have your new, altered pattern piece.
When making up, stitch the shoulder seams, attach binding to the entire neckline, extending the binding beyond the front yoke points. Â Then lay one front piece over the other, aligning the double triangle points (centre front). Â Baste both layers together, before following the rest of the instructions for completing the top.

